
How to Find the Right Solution for Your Home
Home security spans everything from simple DIY home security systems to fully installed, professionally monitored solutions with smart locks and hazard sensors. The right fit depends on how hands-on you want to be, your budget and which features matter most (video history, cellular backup, automation or live guard response). Below is a clear, practical guide to leading device types and companies, plus what to look for before you buy.
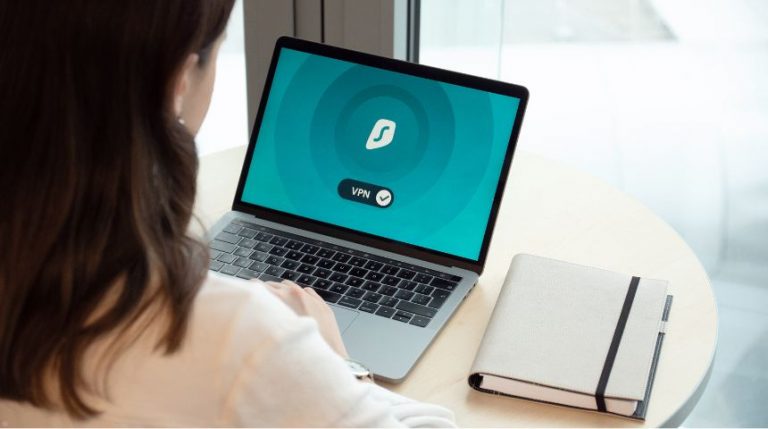
Pick Your DIY Defender
With so many DIY security brands vying for your attention, choosing the right one can feel overwhelming. Each system offers unique features, integration options and price points. To help you decide, here’s a quick look at some of the most popular DIY home security contenders in the USA:
- SimpliSafe. Known for its easy, tool-free installation and reliable cellular backup. Starter kits run around $230, with no long-term contracts required.
- Ring Alarm. Integrates seamlessly with Amazon Alexa and offers a variety of camera add-ons. Kits start at $200, plus optional professional monitoring plans.
- Arlo. Provides high-resolution wireless cameras and floodlight cams. Expect to invest $250+ for an initial setup with both indoor and outdoor coverage.
- Abode. Features a flexible hub supporting Z-Wave and Zigbee devices. Starter bundles hover around $300, appealing to smart-home enthusiasts.
- Wyze. Ultra-affordable cameras and sensors with a complete starter bundle under $100. Ideal for budget-conscious users willing to self-monitor.
Decoding the DIY Security Blueprint
At its core, a DIY home security system empowers you to install and manage protection on your own terms. Rather than hiring a technician to run cables and set up equipment, you receive preconfigured devices—sensors, cameras, a central hub—and follow a simple step-by-step guide.
Most systems communicate over your existing Wi-Fi network, with some offering optional cellular backup to maintain coverage during power or internet outages. Through a companion app, you can arm or disarm your setup, watch live video feeds, receive real-time alerts and even automate routines like turning on lights when motion is detected.
Securing Your Home Without a Contractor
For many homeowners across the United States, the appeal of cutting installation costs and ditching long-term contracts is enormous. A typical DIY kit arrives ready to go: peel-and-stick sensors for doors and windows, plug-in or battery-powered cameras and a compact hub that ties everything together.
Instead of drilling holes and weaving wires behind walls, you simply mount each device in minutes. The intuitive mobile apps guide you through network setup, device pairing, and customization—no special tools or professional experience needed.
Inside the DIY Security Toolkit
Most DIY packages come equipped with a central hub that acts as the system’s brain, door and window sensors that detect breaches, motion detectors for interior coverage and optional accessories such as smart locks or environmental sensors for fire and carbon monoxide detection. Cameras—whether indoor, outdoor or doorbell models—often feature HD resolution, night vision and two-way audio. Devices typically connect via Wi-Fi or proprietary wireless protocols, ensuring a robust mesh network that covers your entire property.
Counting the Dollars and Cents
One of the biggest advantages of DIY security is transparent pricing. Basic starter kits range from $150 to $500 depending on the number of sensors and camera types included. Once you own the hardware, you can choose between free self-monitoring (where you receive alerts and handle responses yourself) or paid professional monitoring.
Fees for self-monitoring start at $0 per month, while professional services range from $10 to $30 monthly. Unlike traditional systems that often tack on installation fees of $100–$200 and lock you into two-year contracts, DIY solutions let you scale up or down without penalties.
The Bright Side and Shadows of Going DIY
Pros
- Lower upfront costs and subscription fees compared to pro-installed systems.
- Tool-free setup—no drilling, wiring or special permits required.
- Complete flexibility to add, remove or reposition devices as your needs change.
- Instant remote access via smartphone apps, with real-time push notifications.
- No long-term contracts; you’re free to cancel or switch providers anytime.
Cons
- Improper sensor placement can lead to coverage gaps or false alarms.
- Limited direct support—if something malfunctions, you may need to troubleshoot yourself.
- Systems relying solely on Wi-Fi may be vulnerable during outages unless cellular backup is enabled.
- Advanced features (cloud storage, AI motion detection) often require higher-tier subscriptions.
What to Expect When Your Lights Flash at 2 AM
When a sensor trips at an odd hour, expect an immediate push notification on your phone, often accompanied by a pre-recorded phone call. You can launch the app to view live or recorded footage and even speak through camera speakers to deter intruders. If you subscribe to professional monitoring, a trained agent may attempt to reach you before dispatching local authorities.
Be ready for occasional false alarms—pets, drafts and severe weather can trigger sensitive detectors. Thankfully, most systems let you silence or reset alarms within seconds via the app.
How to Pick the Best Option for Your Needs
When looking at DIY home security systems, consider the following before making a purchase:
- List your risks. Is your priority package theft, nighttime driveway activity or back-door entries? That decides camera placements, floodlights and which sensors you truly need.
- Decide who monitors. If you travel often (or don’t want to manage alarms yourself), pick professional monitoring with cellular backup. DIYers who are home a lot may start with self-monitoring and add pro service later.
- Match the ecosystem. Already on Ring, Google Nest, Apple Home or Alexa? Choosing gear that fits your platform simplifies automations and avoids app sprawl. ADT’s Nest-powered packages and Ring’s end-to-end lineup are strong examples.
- Check the fine print. Confirm contract terms, cancellation fees and what’s included at each monitoring tier (police/fire dispatch, video verification, CVR, number of devices covered). Pricing pages and independent reviews help decode the details.
- Plan for growth. Start with must-have sensors and your most important camera angles; add specialty gear (garage control, smart locks, leak sensors) once you’ve lived with the system for a few weeks. Abode’s on-demand monitoring and modular kits make incremental upgrades easy
Decide how much service you want, which video features you’ll actually use and what you’re comfortable paying monthly, then pick the system that fits your home.